
Hollow Knight: Silksong Beginner Tips: Farming Rosaries, Finding Shakra, and More

Like a surprise boss, Team Cherry’s long-awaited sequel has finally dropped with a mere two weeks’ notice, surprising both Hollow Knight fans and newcomers, as well as online vendors that famously crashed due to outstanding release day demand. But while Silksong keeps the labyrinthine level design and insane Soulslike bosses, Hornet’s kit differs from the Knight’s quite a bit.
Silksong Beginner Tips
Knowing where to start and what to prioritize is key to a smooth experience, and as someone who 100%ed the first game, I know how daunting this world can be for newcomers. So without further ado, here’s our seven early game tips to help you get a good start to Hornet’s quest to the Citadel. Minor gameplay spoilers await.
Study the bosses, don’t rush in.
Patience is key. Practice caution, calmness, and consistency.
As a general rule, whenever I face off against a boss or enemy for the first time, I let them make all of the first moves, study their behaviors, timings, and openings, and then carefully poke them in between, seeing how or whether their patterns change based on factors such as how close I am or which attacks they’ve previously done. With some bosses, you can ‘trap’ them in predictable loops with careful spacing, allowing for some play by resetting to a safe distance when necessary. It may also be a good idea to take a few runs just to practice playing as aggressively as possible to see just how much you can get away with, not to mention experimenting with various tools and amulets.
Another tip for bosses
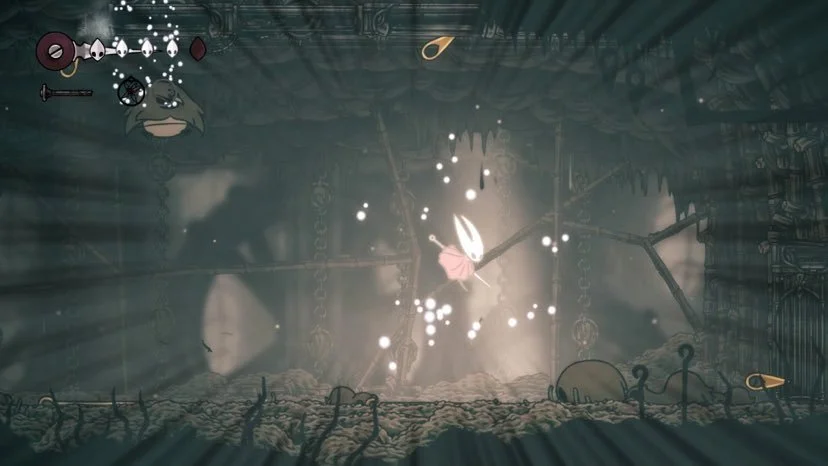
You’re better off waiting to recover your Silk until you’re in need of healing. Grabbing the Silk bundle immediately fills your Silk enough to recover health, so that’s three free masks just waiting for you. Just watch your health, as some attacks can hit for multiple masks.
Prioritize acquiring maps and map-related accessories.
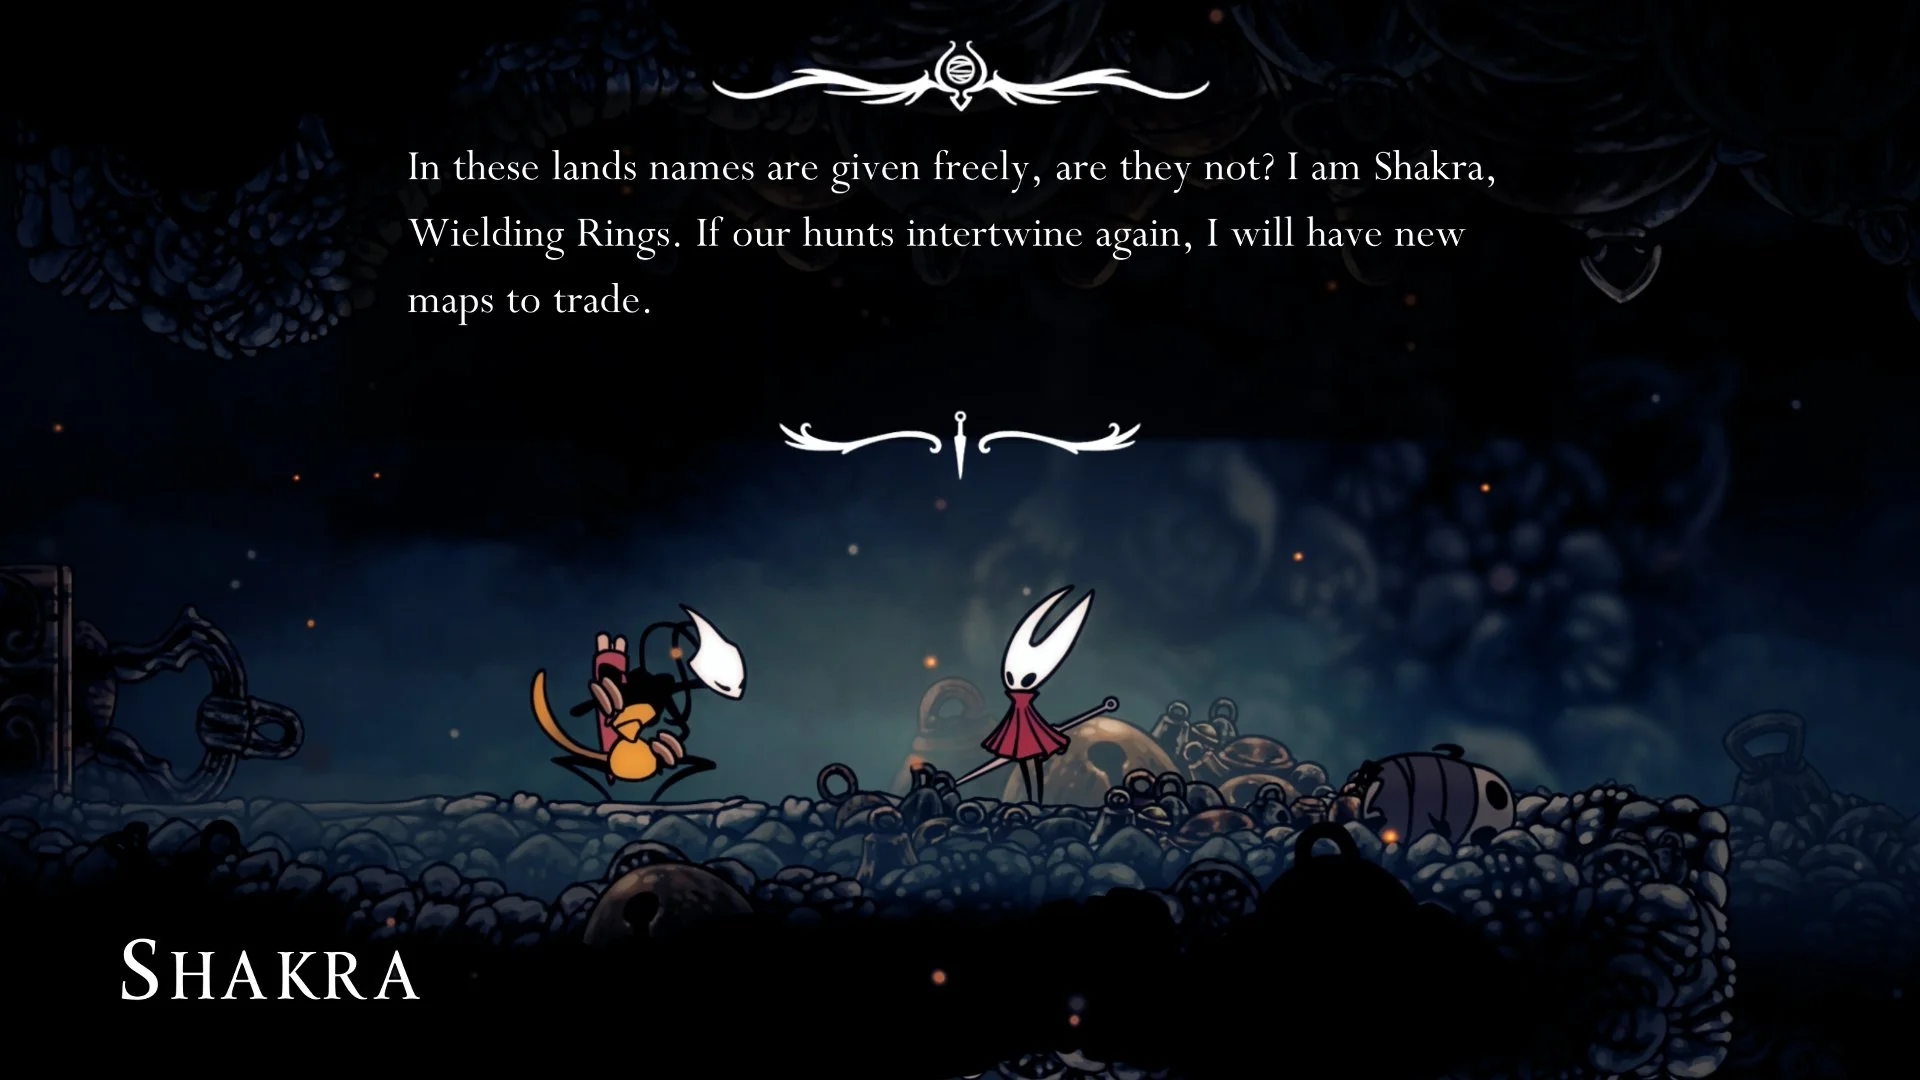
The map merchant, Shakra, can be found early on in the Marrow, in the upper-left corner shortly before finding the first boss. You can’t miss her, as she sings a somewhat haunting song. In Silksong, you’ll need more than just the maps in each new area. For starters, you’ll need to purchase the Quill, which allows you to record new spots whenever you rest at a bench, and the Compass, which is an equippable item that allows you to see your position on the map in real-time. She also sells map markers (two colors, eventually) so you can mark off locations to visit later. Shakra will be lurking somewhere in most areas with maps to each region, but she will also be available on a platform at the eastern edge of the main hub, Bone Bottom. If she isn’t there, smack the bell to summon her.
Best Silksong Farming Spots - Farm Rosaries Early
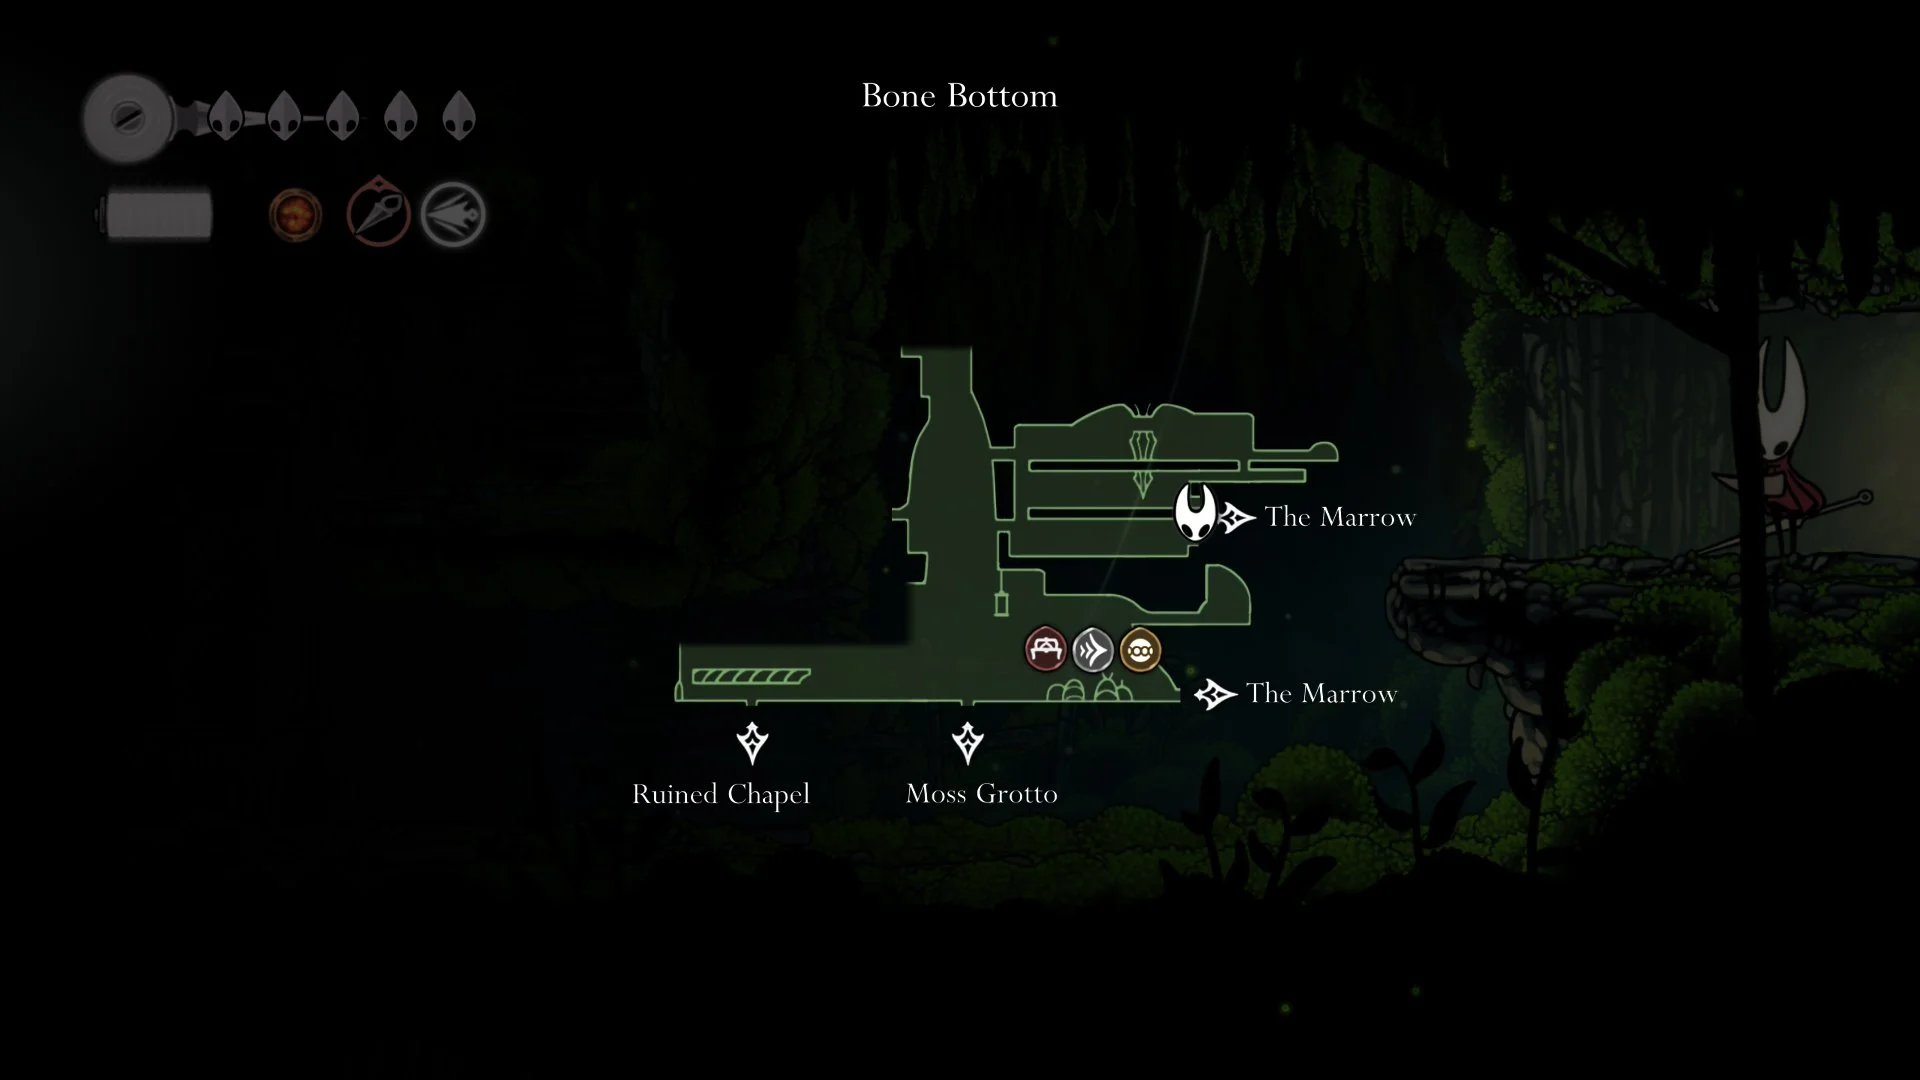
From the Bellway at the Marrow (if you’ve beaten the Bell Beast), head either west or south and then west, clearing the early-game enemies one by one in a two-room loop (three if you’re counting the bench).
See the picture above.
Don’t forget the platform and bridge to the left of the bench with two foes, and the several enemies in the room above it. With this method, you can net 50 rosaries in under a minute and a half with the dash. It’s about 2-3 minutes without the dash. This method is also super convenient because it’s so close to the Bellway and bench.
Rosaries are super important in general. They unlock benches and Bellways. Pebb in Bone Bottom will string 60 Rosaries together in a bunch for a fee of 20 rosaries, which is a small price to pay to keep them handy in case you need to pop some in a pinch. Think of an ability to ‘bank’ Souls in a Soulslike by turning them into consumable items that don’t drop upon death. It’s a wonderful mechanic that greatly reduces in-game frustration and I take advantage of it often.
Protip
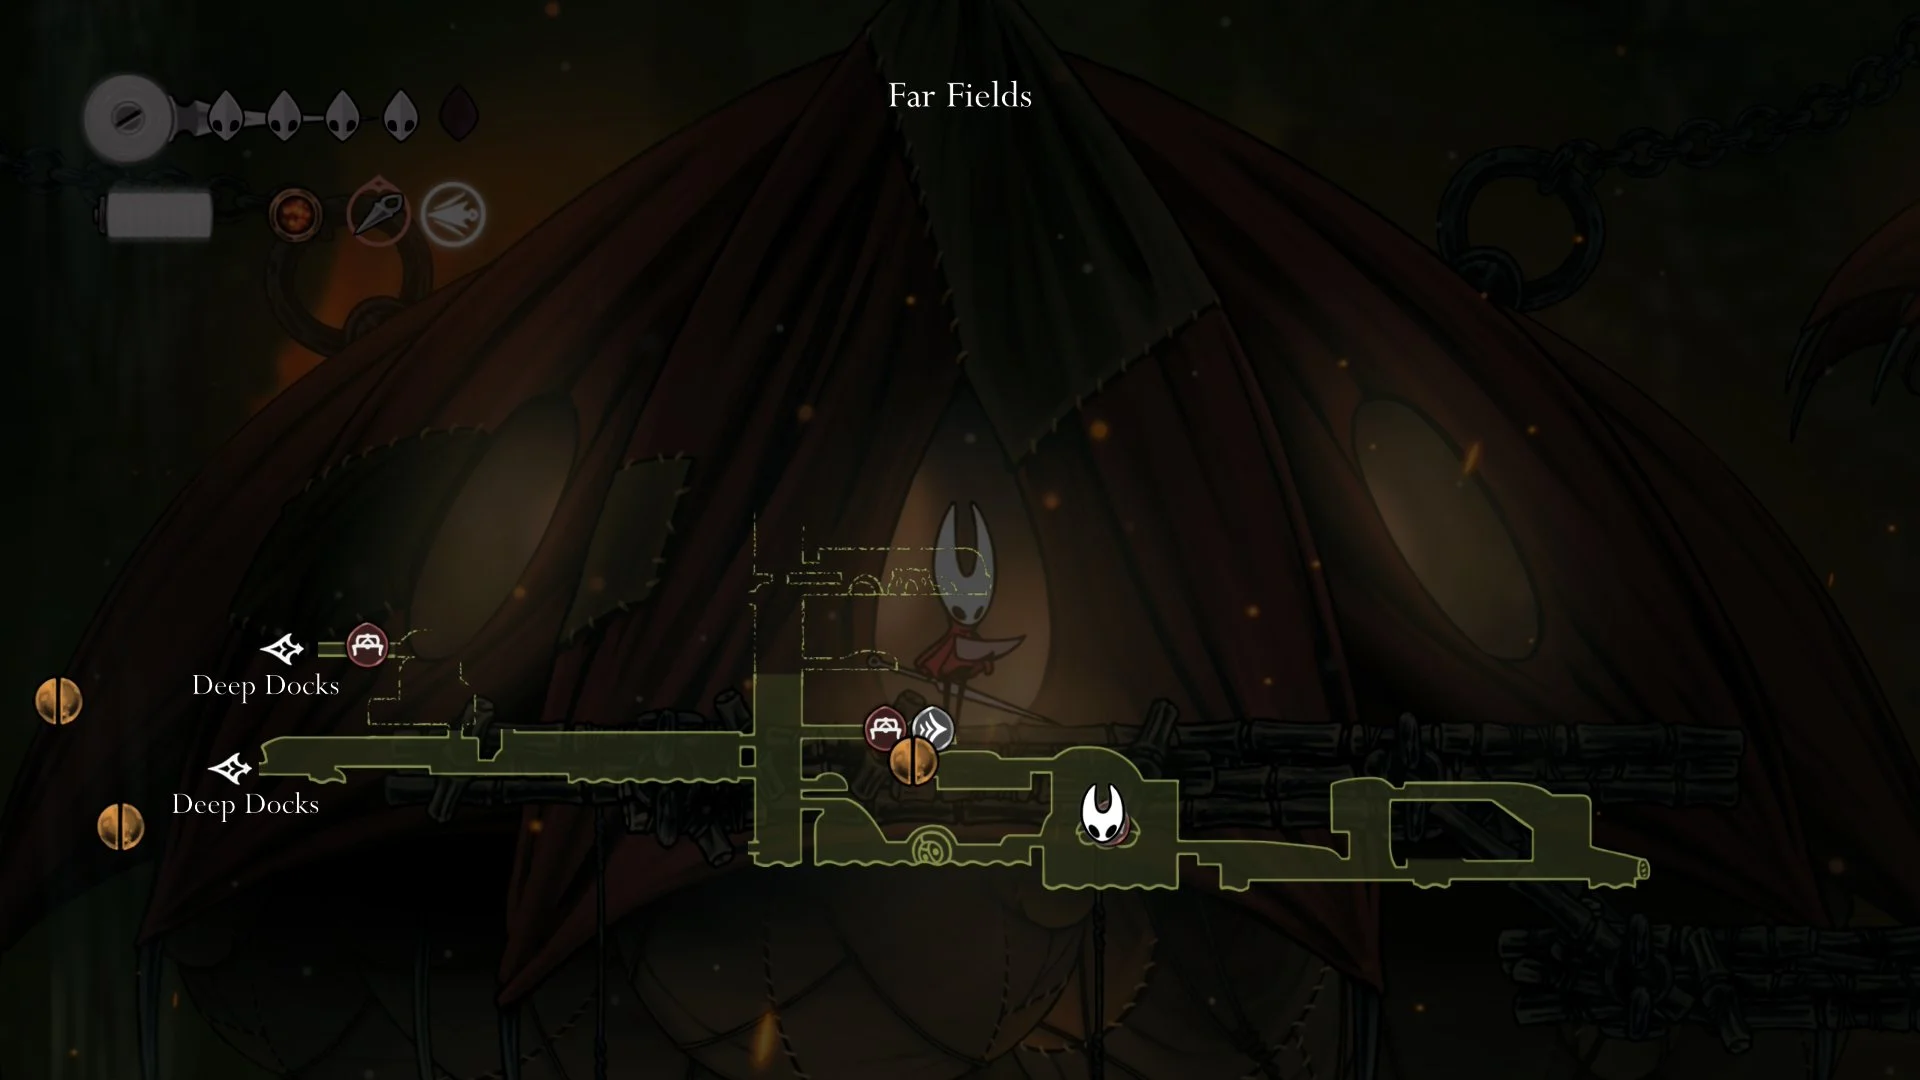
Don’t buy Pebb’s Mask Shard right away. Once you’ve exhausted Pebb’s supply, he’ll move on and stringing rosaries together becomes pricier, as you’ll be limited to the paid entry chapel in Far Fields, that is until you unlock further options such as in Greymoor.
Get Mobility Upgrades Before Hunter’s March
Grab the Swift Step in the Deep Docks and the Drifter’s Cloak in Far Fields before tackling the Hunter’s March, as these Silksong early upgrades will be key to making things a bit easier for you in the early game.
Depending on how adept you are with Hornet’s diagonal pogo (bouncing off of objects/foes), you’ll either breeze through the first (westernmost) part of Hunter’s March, or feel trapped there, as there are multiple spiky pits, traps, quick ant foes, and a lengthy brutal runback until you can find the bench.

About the Bell Beast
My suggestion for players is to first defeat the Bell Beast in Mosshome, then if desired, complete the Berry Picking quest for the Druid (also in Mosshome) in order to acquire the Druid’s Eye amulet, which restores a small amount of Silk whenever Hornet takes damage. It’s not a particularly great amulet, but it’s helpful early game for a while. Then, I recommend sticking to the lower paths first and foremost and heading east to the Deep Docks. There, you’ll be able to find two of the most useful early-game upgrades, the Swift Step and the Drifter’s Cloak. With them, traversal will become much faster and safer.
How to get the Swift Step in Deep Rocks
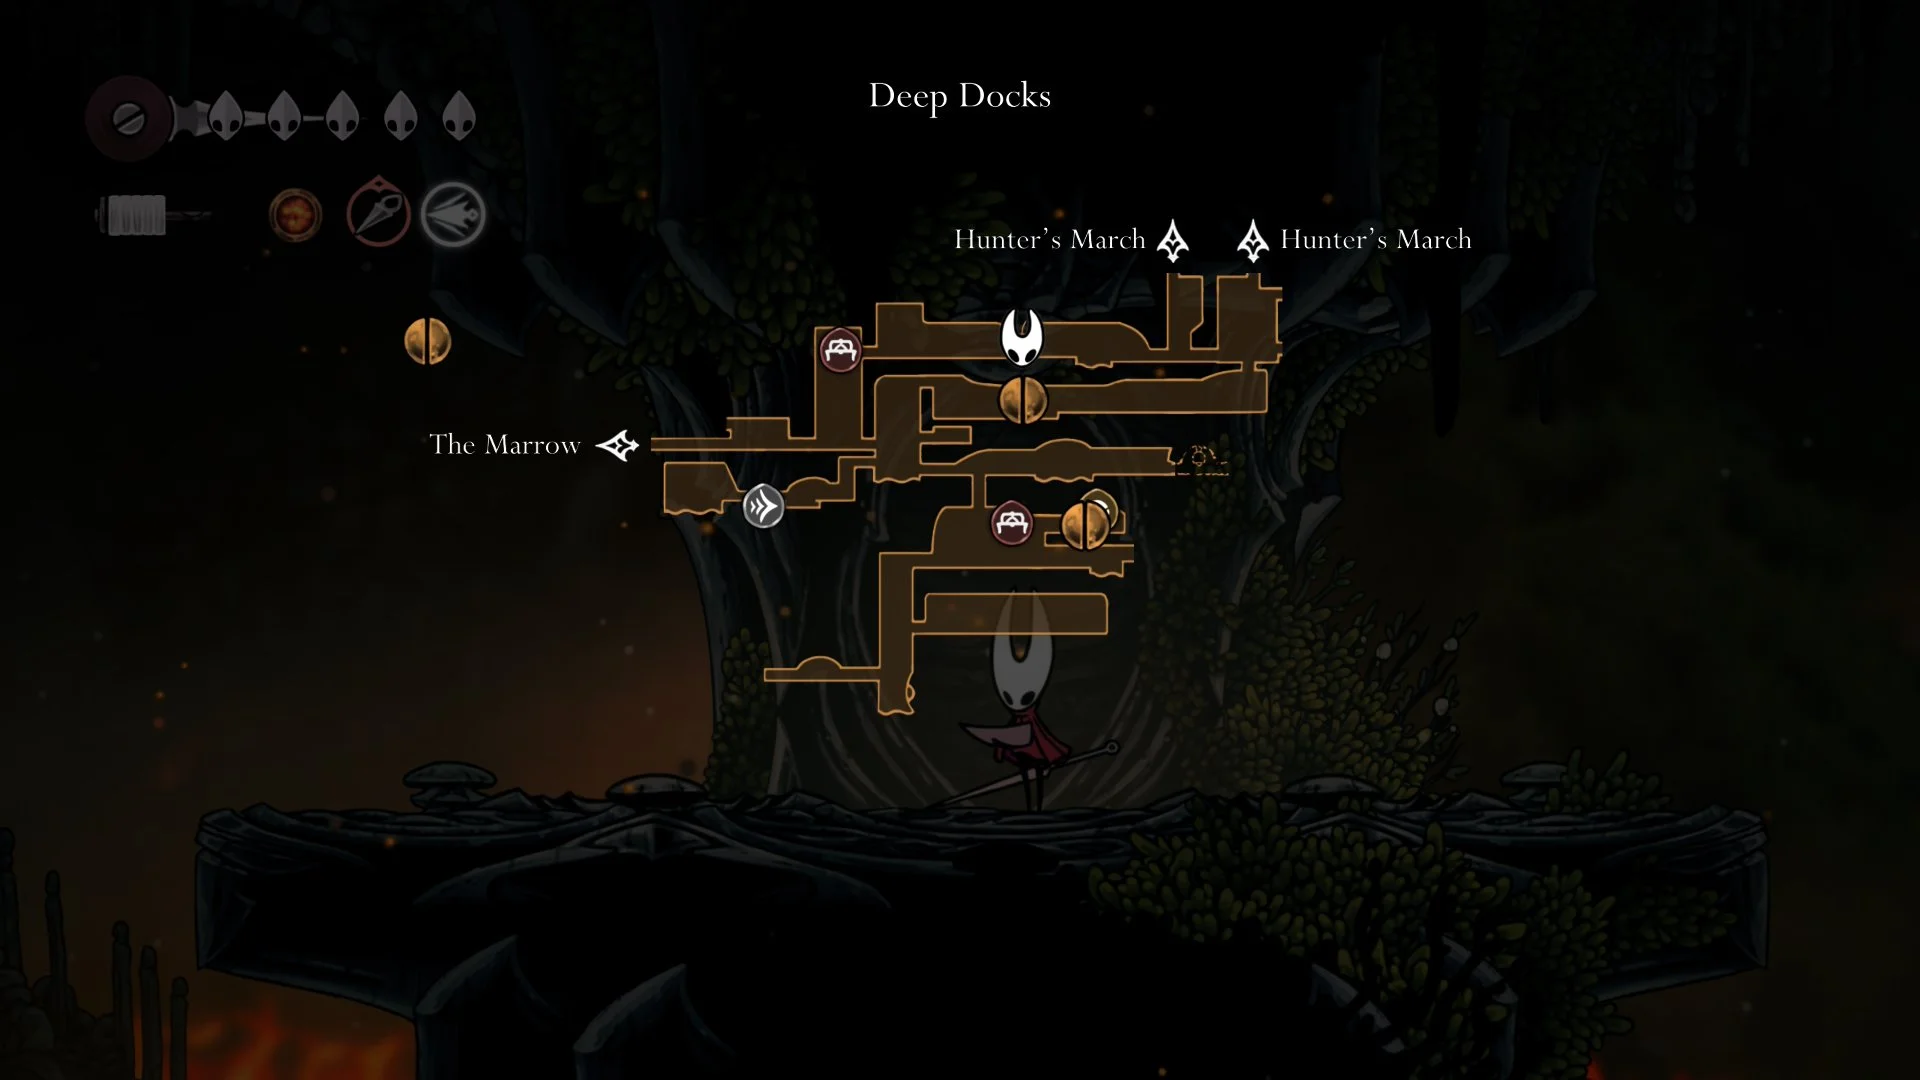
To find the Swift Step, you’ll need to hop across the hot magma in the long room on the eastern side of the Deep Docks. I missed this initially because I thought that the ground would damage me, but as long as you keep moving, you’ll be fine. From there, you’ll ascend a corridor and will want to whack the explosive orange ball to blow up the ceiling before running away. There’s a shrine in the next room with the Swift Step. Congratulations, you’ve now made your playthrough exceptionally quicker.
How to get the Drifter’s Cloak in Far Fields
To get the Drifter’s Cloak, which allows Hornet to float down in mid-air Princess Peach-style and ascend billowing currents, you’ll first need to beat the boss Lace, who is just above the Forge Daughter (blacksmith). Lace’s attacks are quick, but with careful timing and spacing, plus liberal use of the Swift Step, you’ll have her on the run.
Thankfully, the runback is very short. Next, head east along the lower path until you reach a massive room with a tall structure in the middle. Ascend the platforms on the north-eastern side until you can enter and speak with the Seamstress, who immediately takes a shine to Hornet.
She’ll offer to make you a new cloak if you can complete the Flexile Spines quest, which simply tasks you with acquiring 25 Spine Cores from the Hokers to the east. These strange floating creatures shoot out spikes in various directions. You’ll simply need to whack one, find its spikes, slash them, acquire the Spine Core drops, then rinse and repeat. In no time at all, you’ll have the Drifter’s Cloak. Be forewarned that to leave this area to the west, you’ll be facing off against the fun Fourth Chorus boss fight.
The Crafting Kit combined with the Sting Shard is absolutely worth it
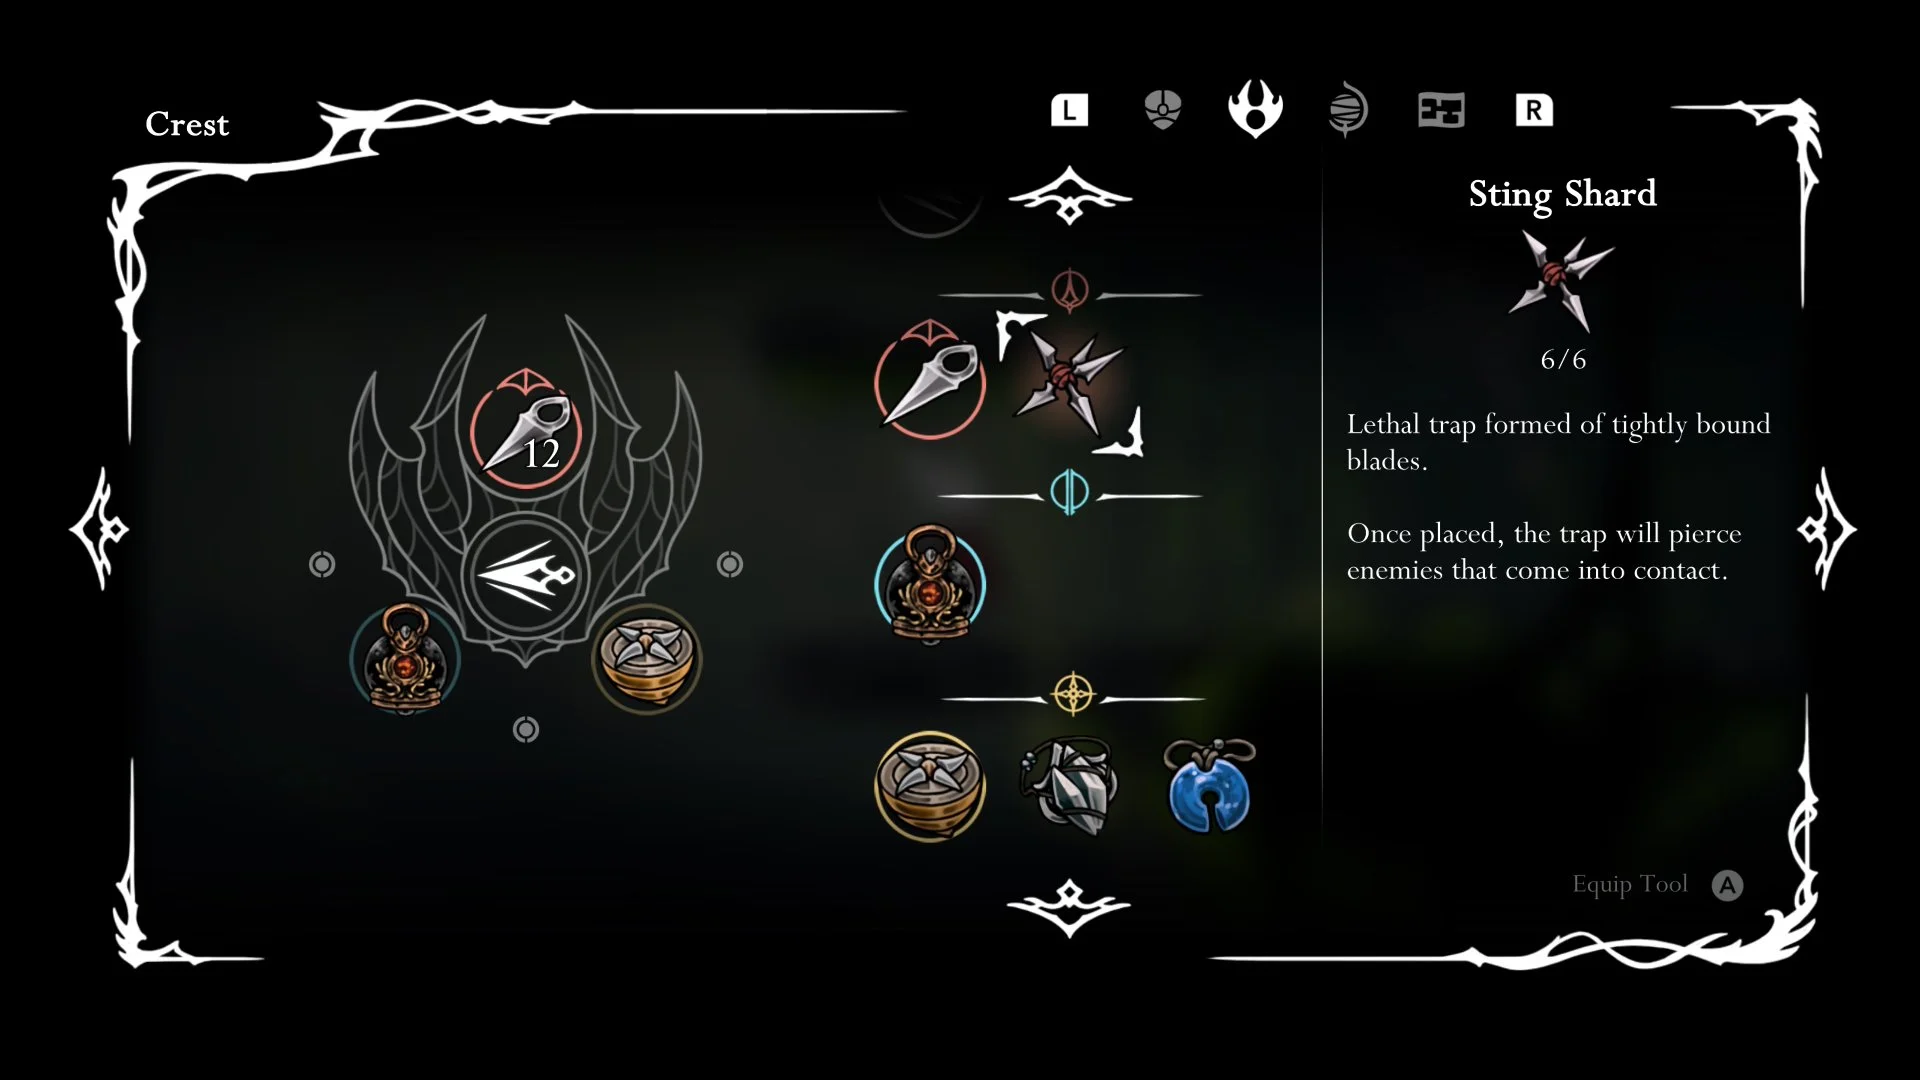
Once you discover the Forge Daughter (blacksmith), you might be tempted to grab the charm that cuts magma and fire damage. While that’s not a bad option, it’s also worthwhile to pick up the Crafting Kit, which increases your Tool damage, and the Sting Shard, which sets up a trap that will remotely hit any enemy that walks into it. This is great to deal with any situation wherein you’re trapped between foes, or in an overwhelming arena.
Try out alternate Crests before committing Memory Lockets
Memory Lockets are rare consumable items that unlock additional colored upgrade sockets on specific Crests (loadouts which determine your attack moveset). However, as there are many Crests to discover and try out, the default Crest that you start with will likely not be the one you’ll use for the rest of the game. Given how rare Memory Lockets are, it’s probably best to wait on that kind of a commitment, lest you are left to wallow in regret.
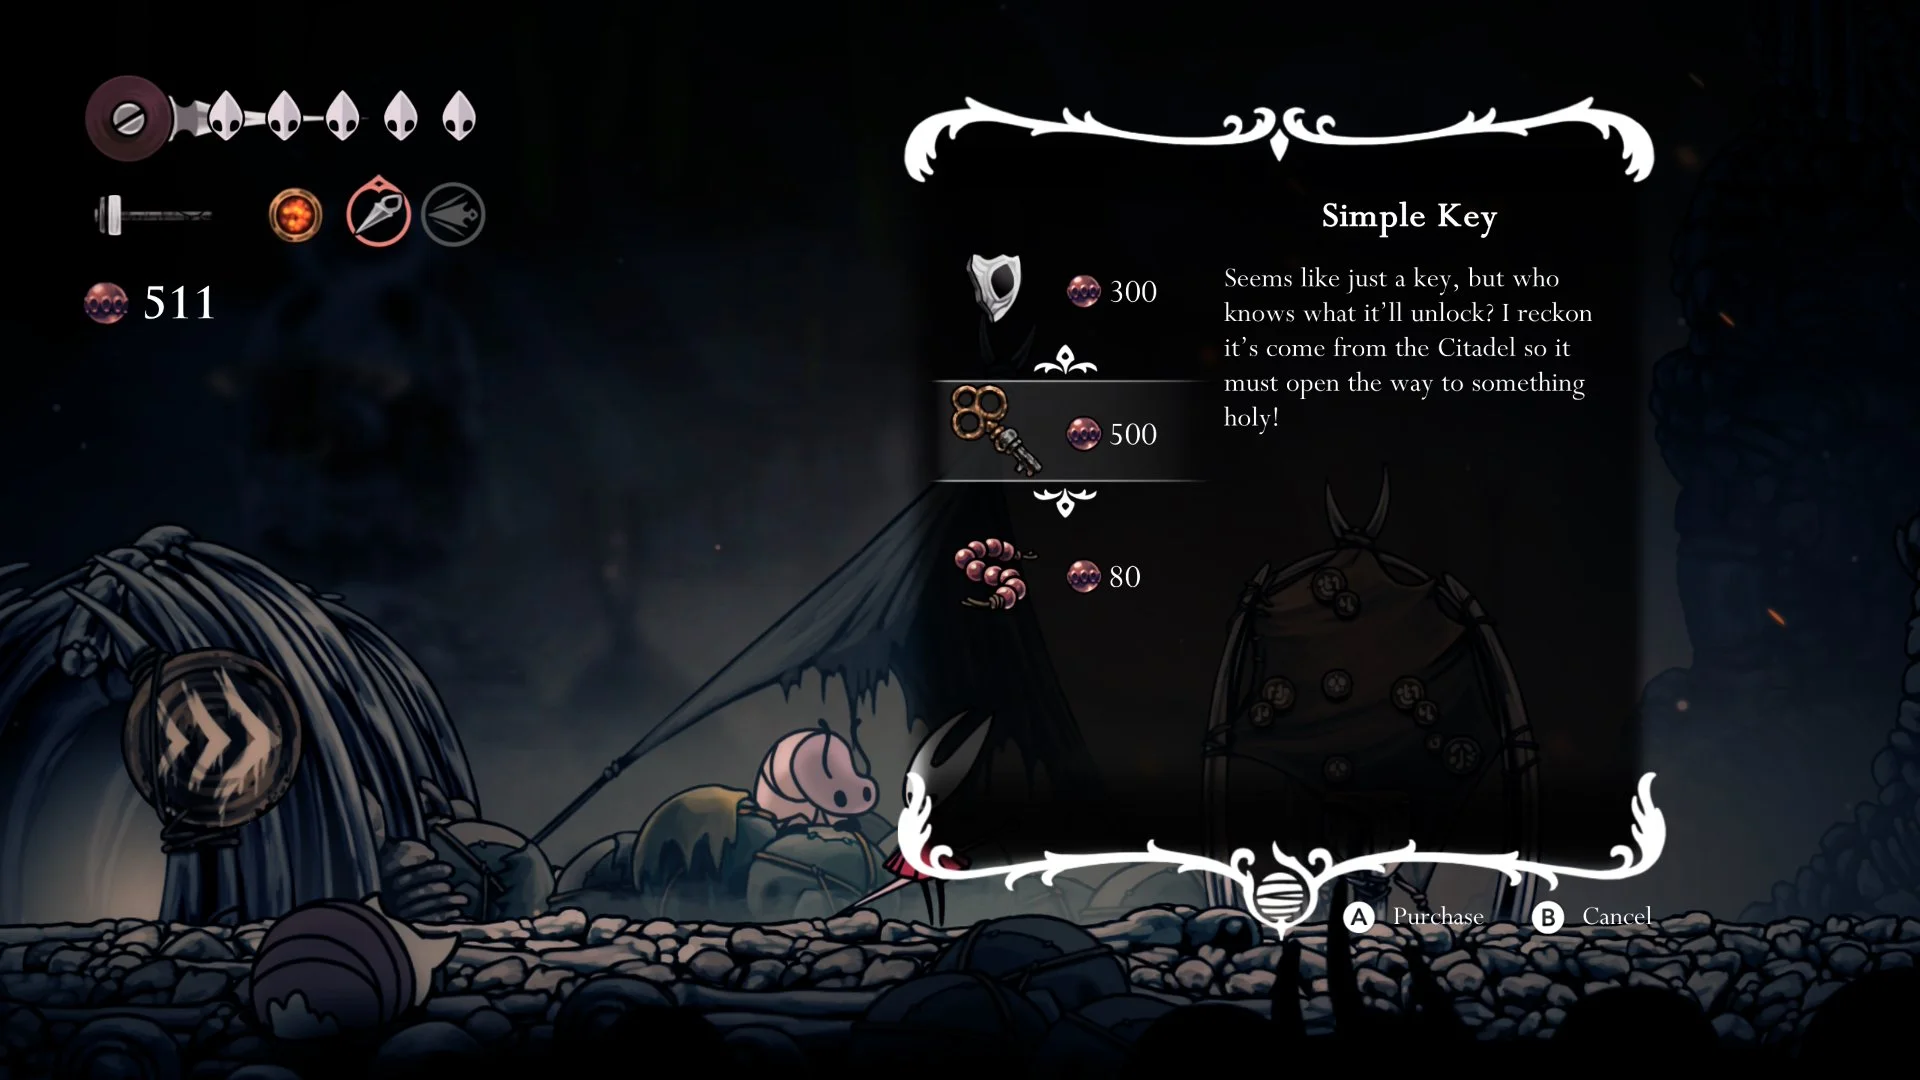
Hornet’s diagonal pogo is excellent for combat, but often the game will task you with using it for platforming. If you’re struggling with Hornet’s pogo, don’t despair, as there are others to test out. I am only eight hours in, so I obviously haven’t seen them all. The Wanderer’s Crest, which you can unlock early with the Simple Key by going up a screen from the Mosshome elevator and pogoing left, grants you the Knight’s swift Nail attacks and his downward slash, while the Reaper’s Crest grants you a wide downward slash, but features a slower moveset. It may take a lot of time to find the playstyle that works best for you.
The Simple Key unlocks certain doors. But only one key is initially available, so choose your unlock carefully. If you can tolerate Hornet’s pogo, save it for later.
Time your healing carefully
One of the best new features in Silksong is the ability to heal in mid-air. Whereas the Knight had to recover on the ground, Hornet can find an upper corner and commit to it, then immediately dash away if necessary. It takes a little over two seconds to heal, and if you’re interrupted in the middle of it, you’re gonna have a bad time.
So don’t panic heal ever. In the overworld, treat healing like the most important thing you’ll do and give yourself a wide berth. Against a boss, find safety first, which often involves careful positioning and timing. This is easier said than done if you’re fighting a particularly aggressive boss, but each one does have windows that can be learned and mastered with careful study, and sometimes you can poke and predict their next move. Often you will get a chance to stun a boss for damage, or will have defeated all enemies onscreen in an arena and are awaiting the next wave. This is your window to recover.
Hopefully these tips will help ease the pain of your long and arduous journey through the cursed Kingdom of Pharloom. Happy hunting!
About the Author - Joseph Choi
Filipino-American gamer, professional shepherd and farmer, author, and filmmaker/videographer living in Central California. First consoles were the Game Boy and Sega Genesis, and I've been gaming since then, with a focus on Nintendo and Sony consoles.


Assassin's Creed Black Flag Resynced is a faithful, gorgeous remake that nails everything above water, even if its stale combat proves the series still hasn't solved its oldest problem.